
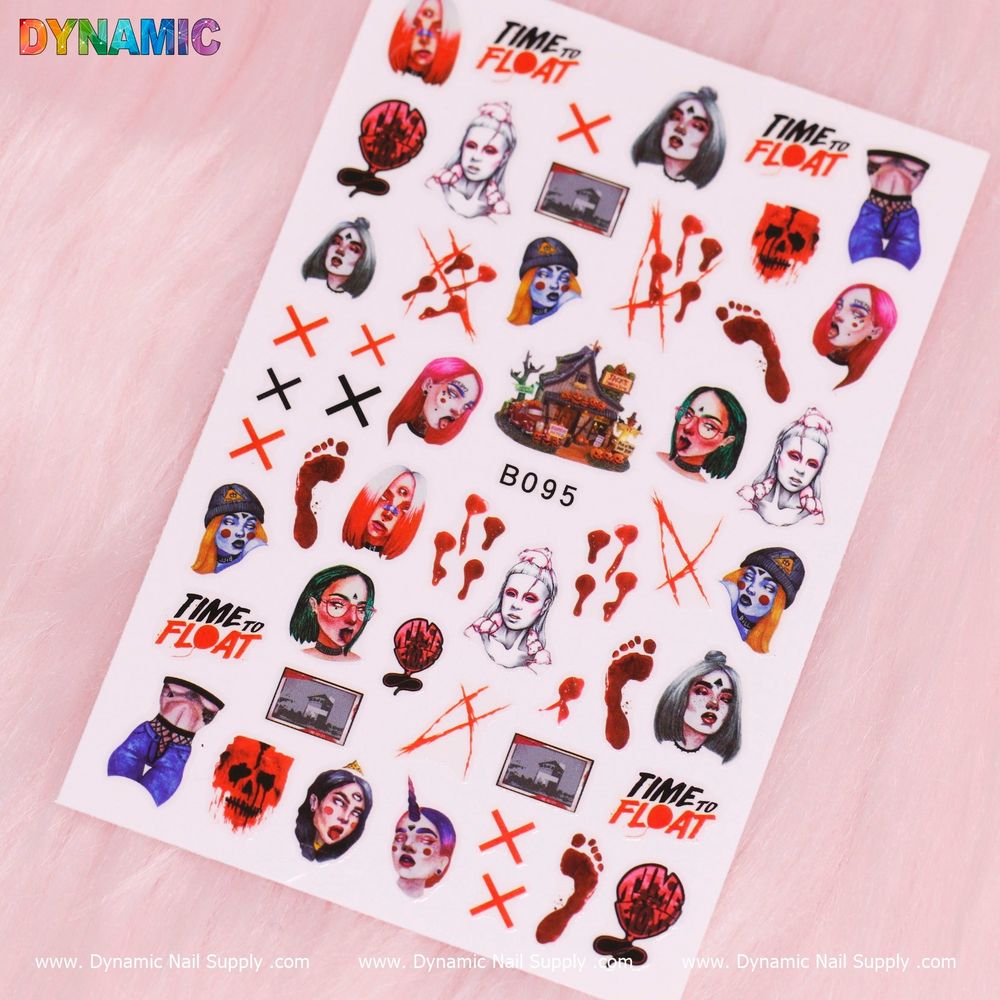
Want to add dramatic Halloween detail to your manicure without complex techniques? Bloody Halloween nail stickers are an easy, low-commitment way to get spooky, gothic or haunted-house effects on natural nails or polished tips. This guide breaks down the key terms, shows a simple step-by-step application, and offers practical tips so even first-timers get pro-looking results.
Before you buy, note the exact design name on the product: Haunted, Bloody Halloween Sticker (B095). If you’re ready to check availability and see the artwork, look for the haunted bloody nail sticker haunted bloody nail sticker.
What are bloody Halloween nail stickers? Simple definitions
At the most basic level, these are adhesive nail decorations printed with a Halloween motif—in this case, bloody or haunted imagery. They fall under the broader category of nail stickers or nail art decorations and are intended to be layered over polish or applied directly to the nail.
Key terms to know:
- Nail sticker: a pre-printed adhesive decal sized for nails.
- Placement: where on the nail you apply the sticker—center, tip, or off to the side for asymmetry.
- Topcoat: a protective clear polish used to seal stickers and smooth edges (recommended but optional).
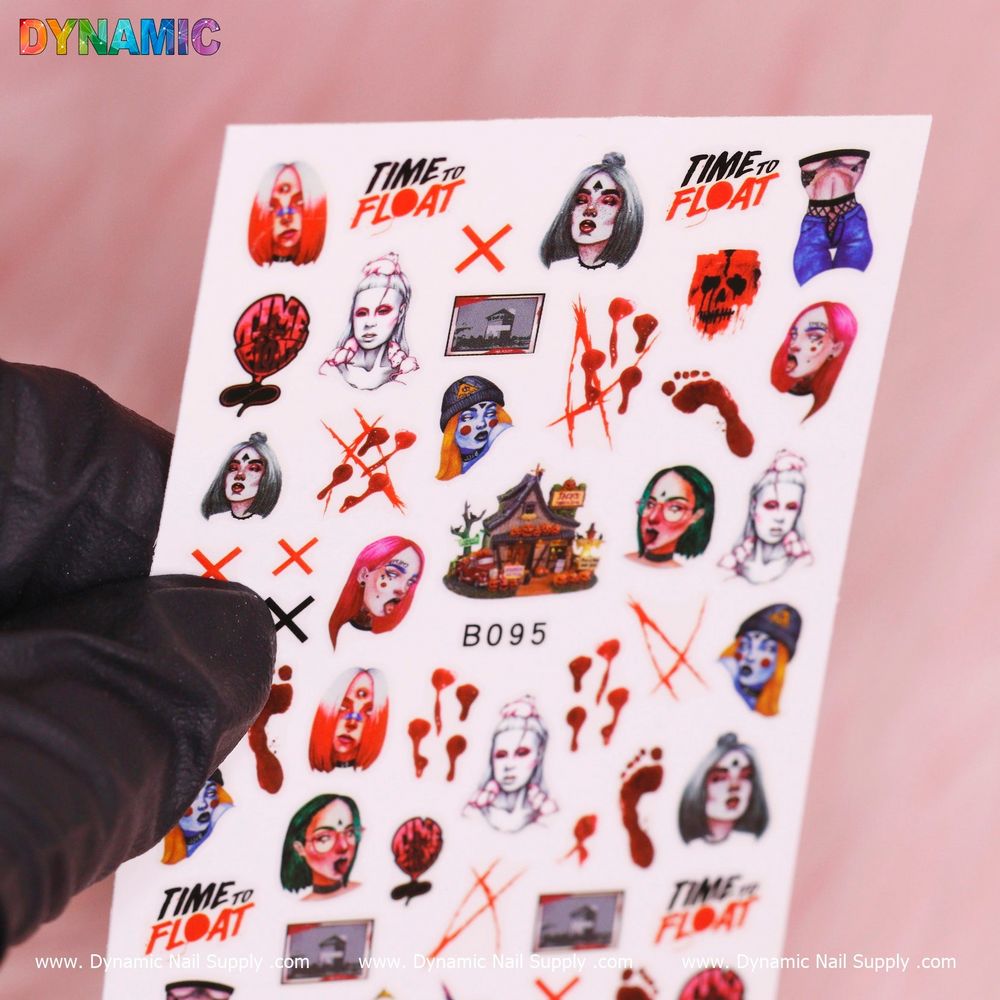
What makes the Haunted, Bloody Halloween Sticker (B095) stand out
This product is listed as a sticker in the Nail Art Decorations category and carries horror-themed tags such as “haunted,” “bloody,” “ghost,” and “gothic.” That tells you the artwork is designed to evoke classic Halloween imagery suited to themed manicures. It’s sold as a single sticker option and is affordably priced, currently shown at $2.00, though prices may change.
Step-by-step: Applying bloody Halloween nail stickers (beginner method)
- Prep nails: Start with clean, dry nails. Remove oils with nail polish remover and gently push back cuticles if needed.
- Base layer: Choose a base color that complements the design—black, deep red, or a pale, ghostly shade are popular choices. Let polish dry fully. You can also apply the sticker to bare, buffed nails for a more raw look.
- Trim and plan: Place the sticker over the nail without removing the backing to gauge fit. If the design is larger than your nail bed, trim slowly with small scissors or a nail clipper to match the curve of your nail.
- Apply the sticker: Peel the sticker from its backing and position it onto the nail. Start at one edge and smooth toward the opposite edge to minimize air bubbles and creases.
- Smooth edges: Press down firmly, especially along the free edge of the nail. Use an orange stick or a silicone tool to eliminate any small wrinkles.
- Seal it: Apply one or two thin layers of topcoat over the sticker, letting each layer dry. This helps protect the design and reduces lifting.
- Finish: Clean any excess around the nail with a small brush dipped in remover. Allow everything to cure and dry fully before using hands heavily.
Design placement and creative tips
Small changes in placement give very different looks:
- Center placement draws the eye and works well on shorter nails.
- Tip placement mimics French-style accents and looks dramatic with a dark base.
- Off-center or partial designs create an asymmetrical, avant-garde effect—great for alternating nails.
For layered looks, try applying a secondary accent sticker or a dot of metallic polish next to the bloody graphic. Keep contrast in mind: high-contrast pairings (dark base, bright graphic) make the design read from a distance.
Who should use these stickers?
Bloody Halloween nail stickers are ideal for beginners, holiday enthusiasts, and nail professionals who want a quick seasonal option. They’re useful for one-off events like parties, cosplay, or photoshoots because they offer instant themed detail with minimal skill required.
If you’re a salon technician, these stickers can be a fast add-on service for clients seeking a seasonal accent without a full hand-painted design.
Care, removal and safety notes
- Care: Avoid prolonged exposure to harsh chemicals or extended soaking—gentle hand washing is best to preserve adhesive and print quality.
- Removal: Most stickers can be gently lifted from the cuticle edge and peeled off. If adhesive is stubborn, soak the nail in warm, soapy water or use an acetone-based remover to loosen the bond.
- Sensitivity: If irritation occurs, remove the sticker and discontinue use. Do not apply over irritated or broken skin.
Practical purchasing notes
The listing labels this item as a sticker and places it within Nail Sticker/Decorations categories, so expect themed artwork rather than standalone tools or polish. The product is offered through Dynamic Nail Supply and is budget-friendly for seasonal experimentation.
Conclusion: quick, spooky impact with minimal fuss
Bloody Halloween nail stickers give you a fast way to transform a manicure into a creepy, haunted statement without specialized skills. With simple prep, careful placement, and a sealing topcoat, you can achieve striking results suitable for parties, events, or social posts. Start with one accent nail if you’re cautious, then build up to full sets once you’re comfortable with trimming and placement.
